It is always better to have a smaller plates for snacks, lunch or left overs & can be held in your lap!
So start with just 2 pounds of clay.
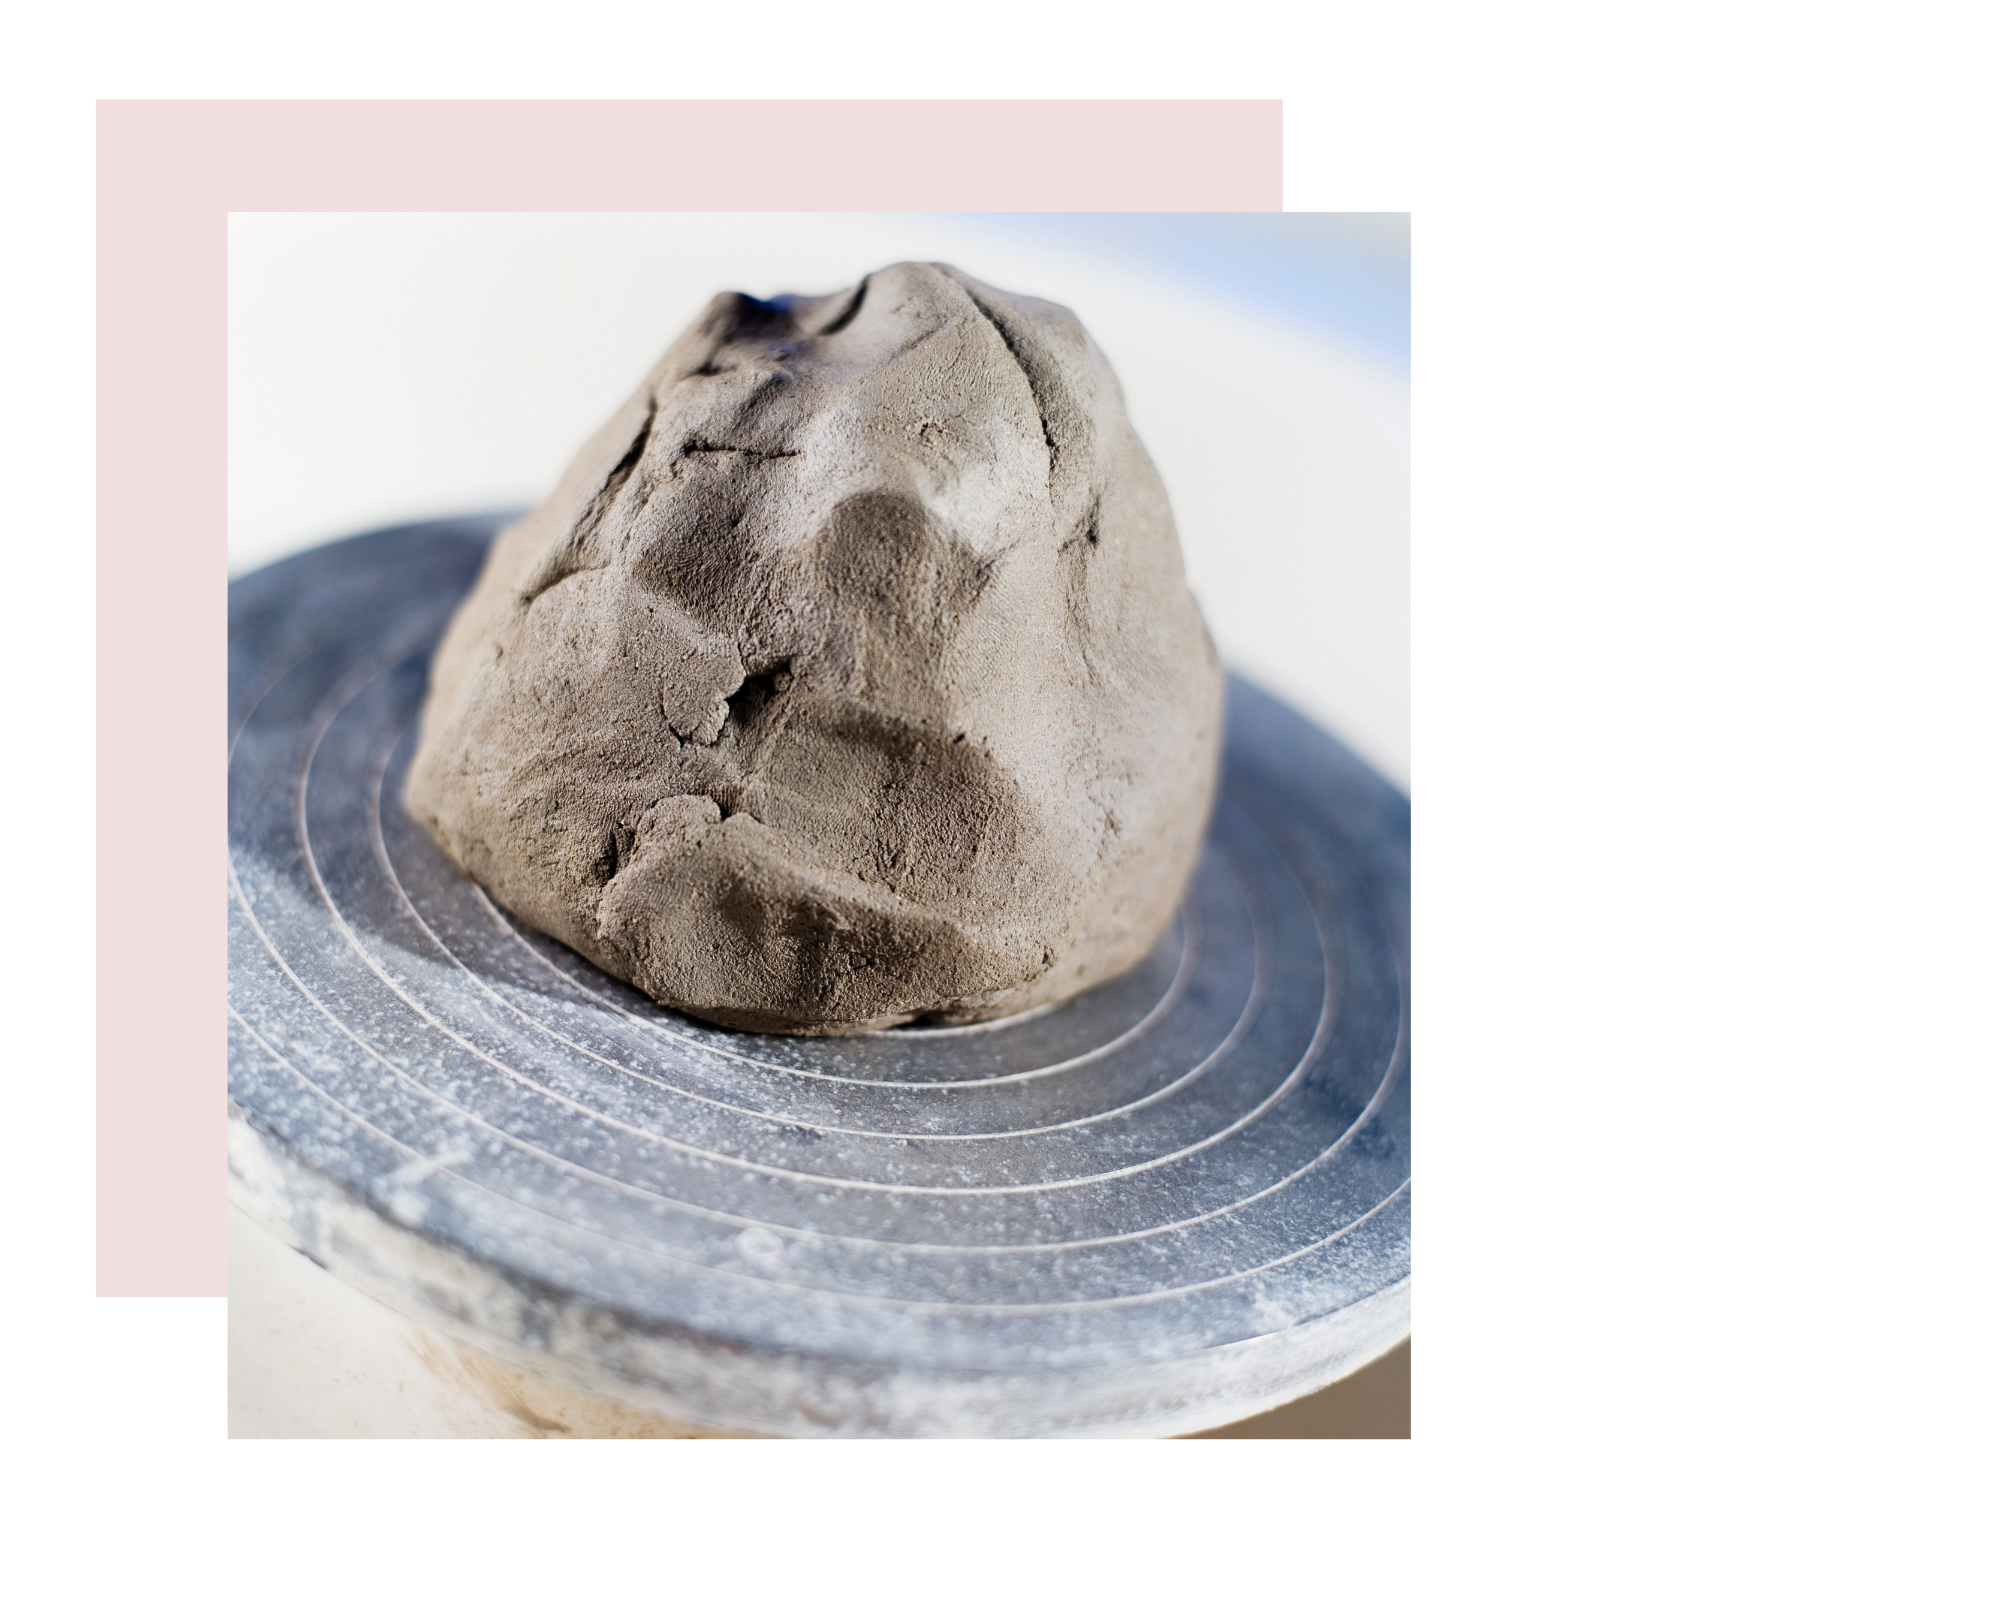
Center to 8 inches.
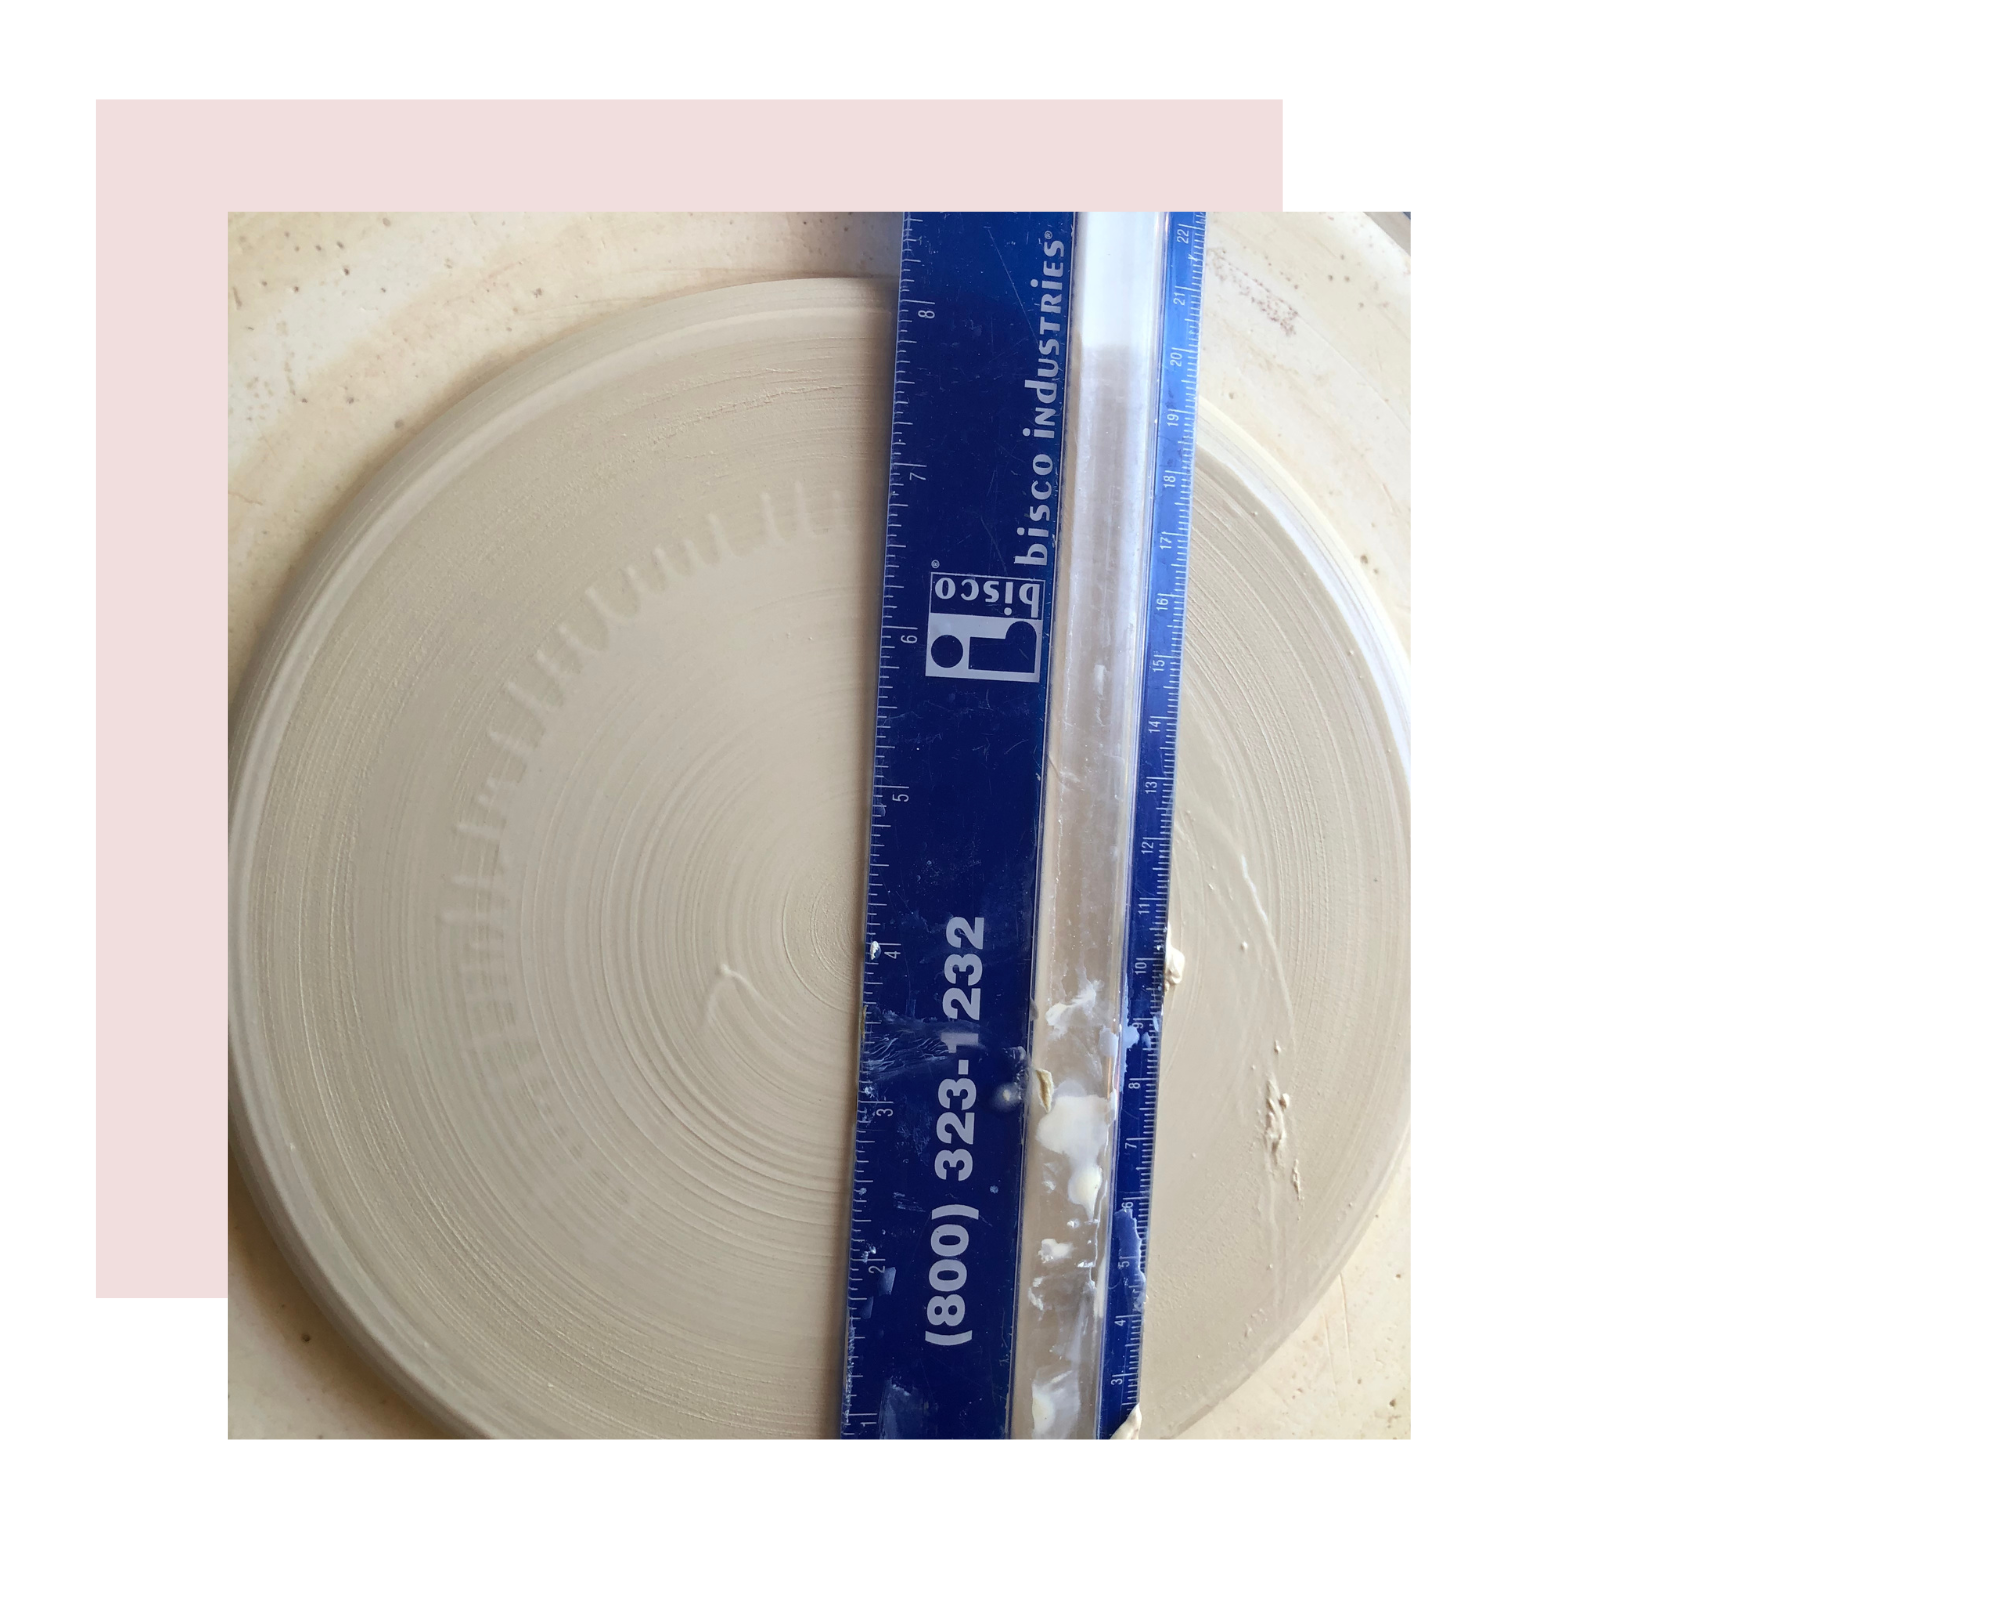
As with any bowl, sink the well.
Spread the floor, etc.
Smooth the edges.
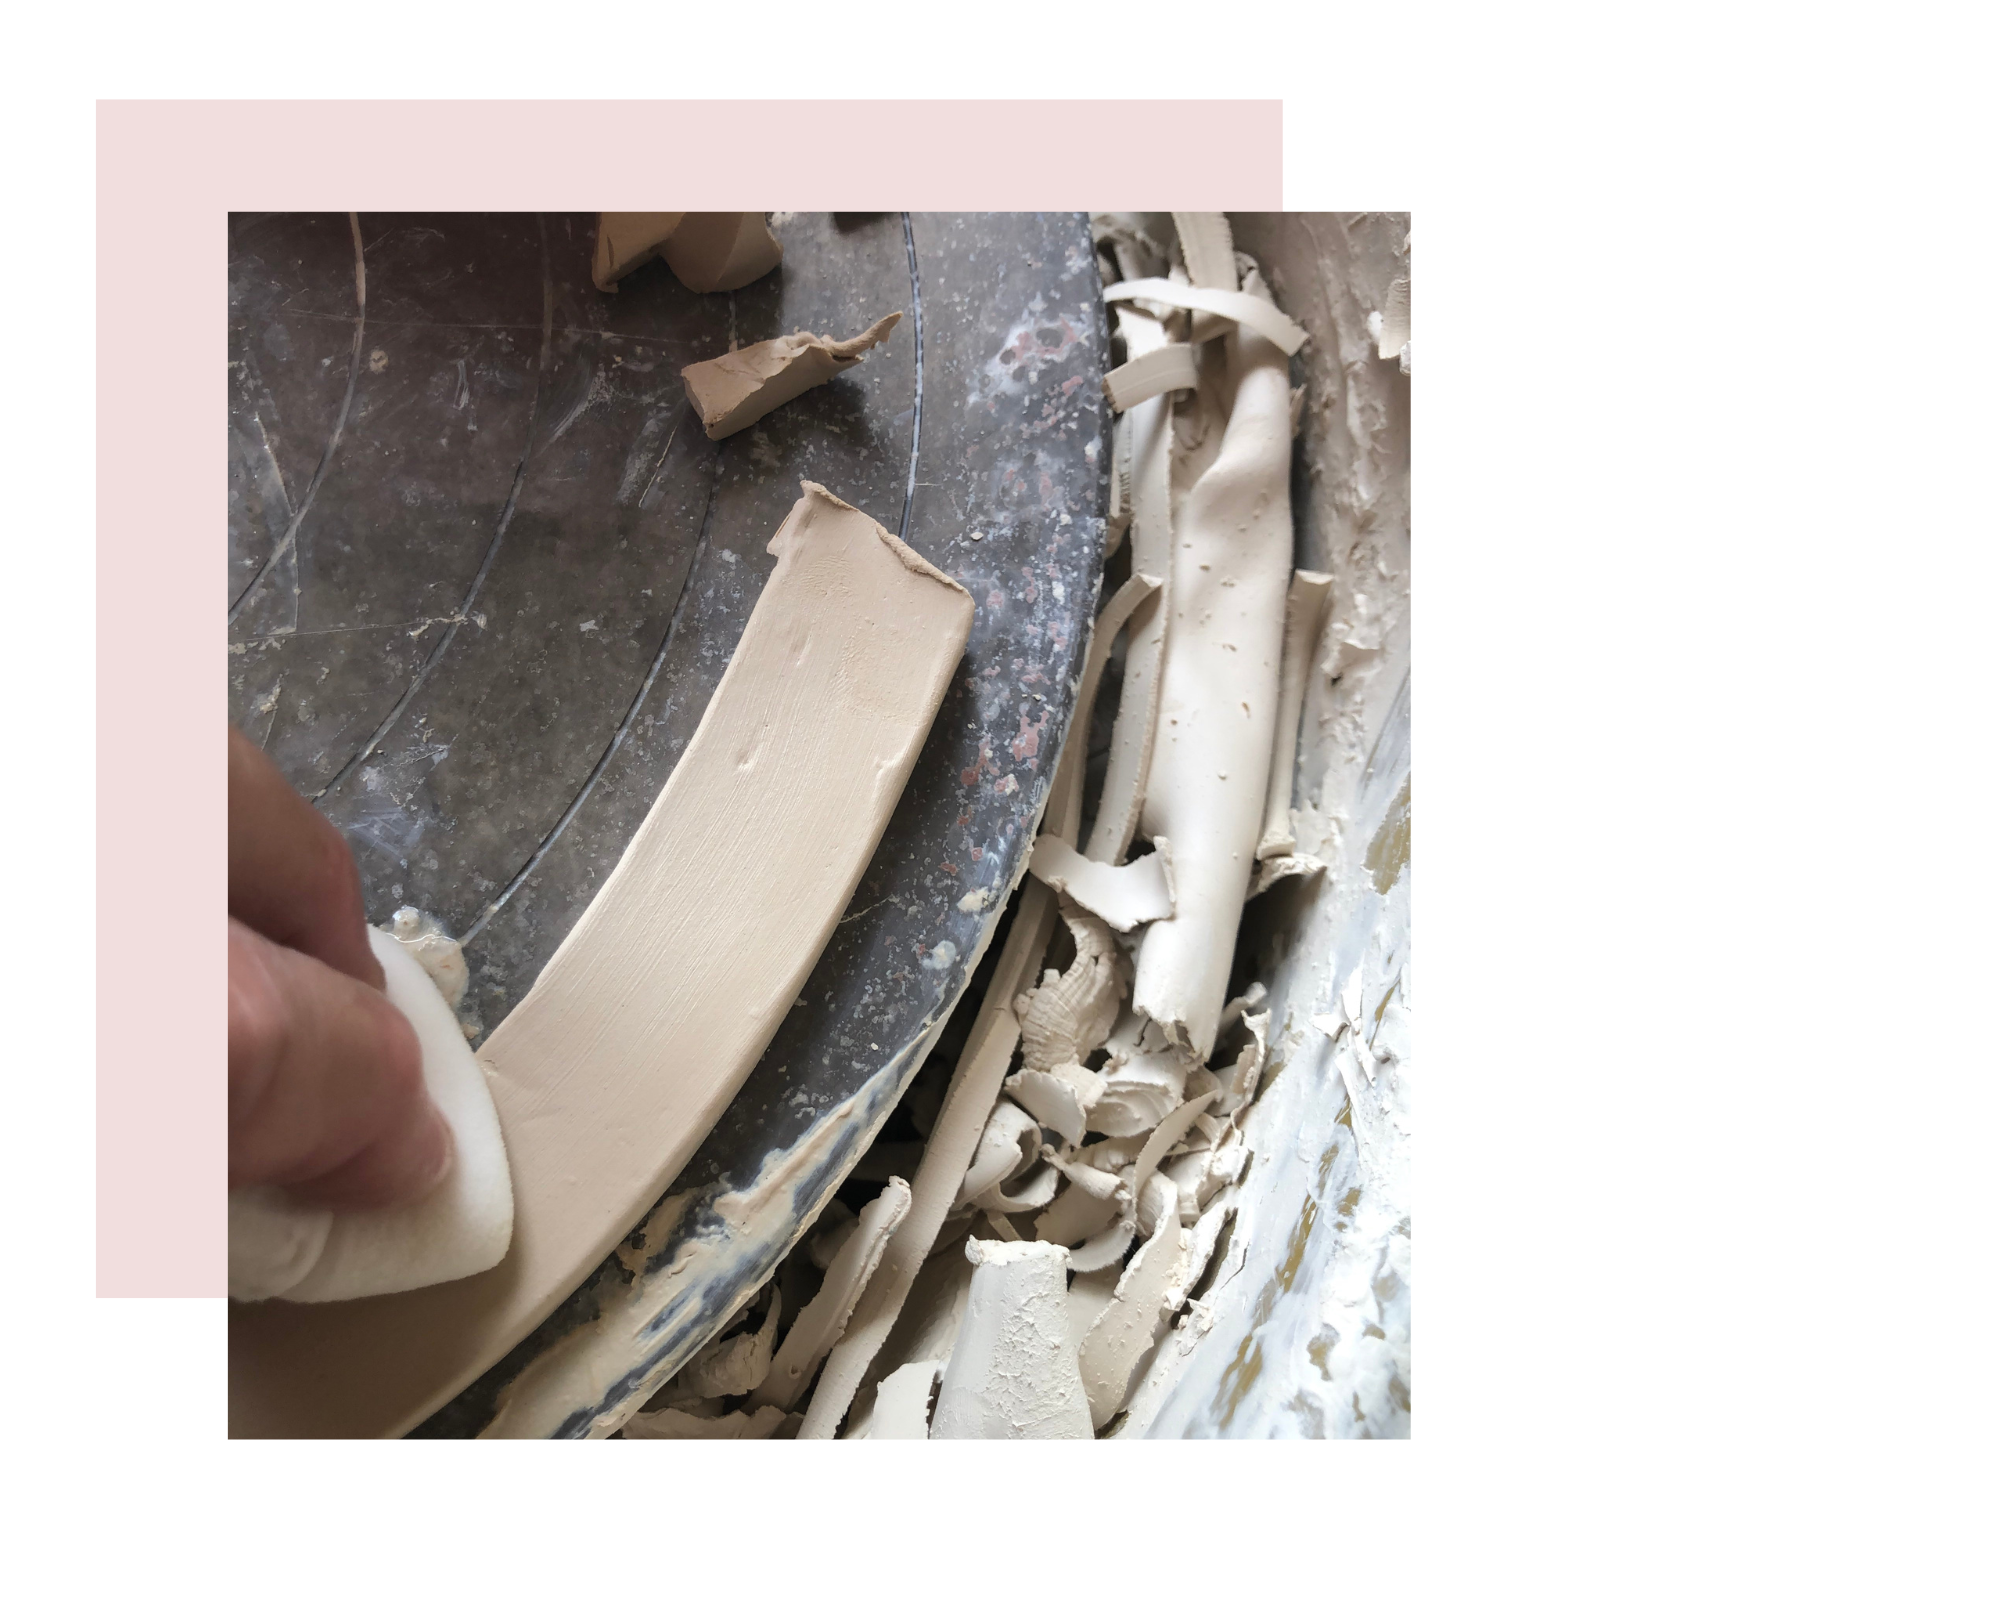
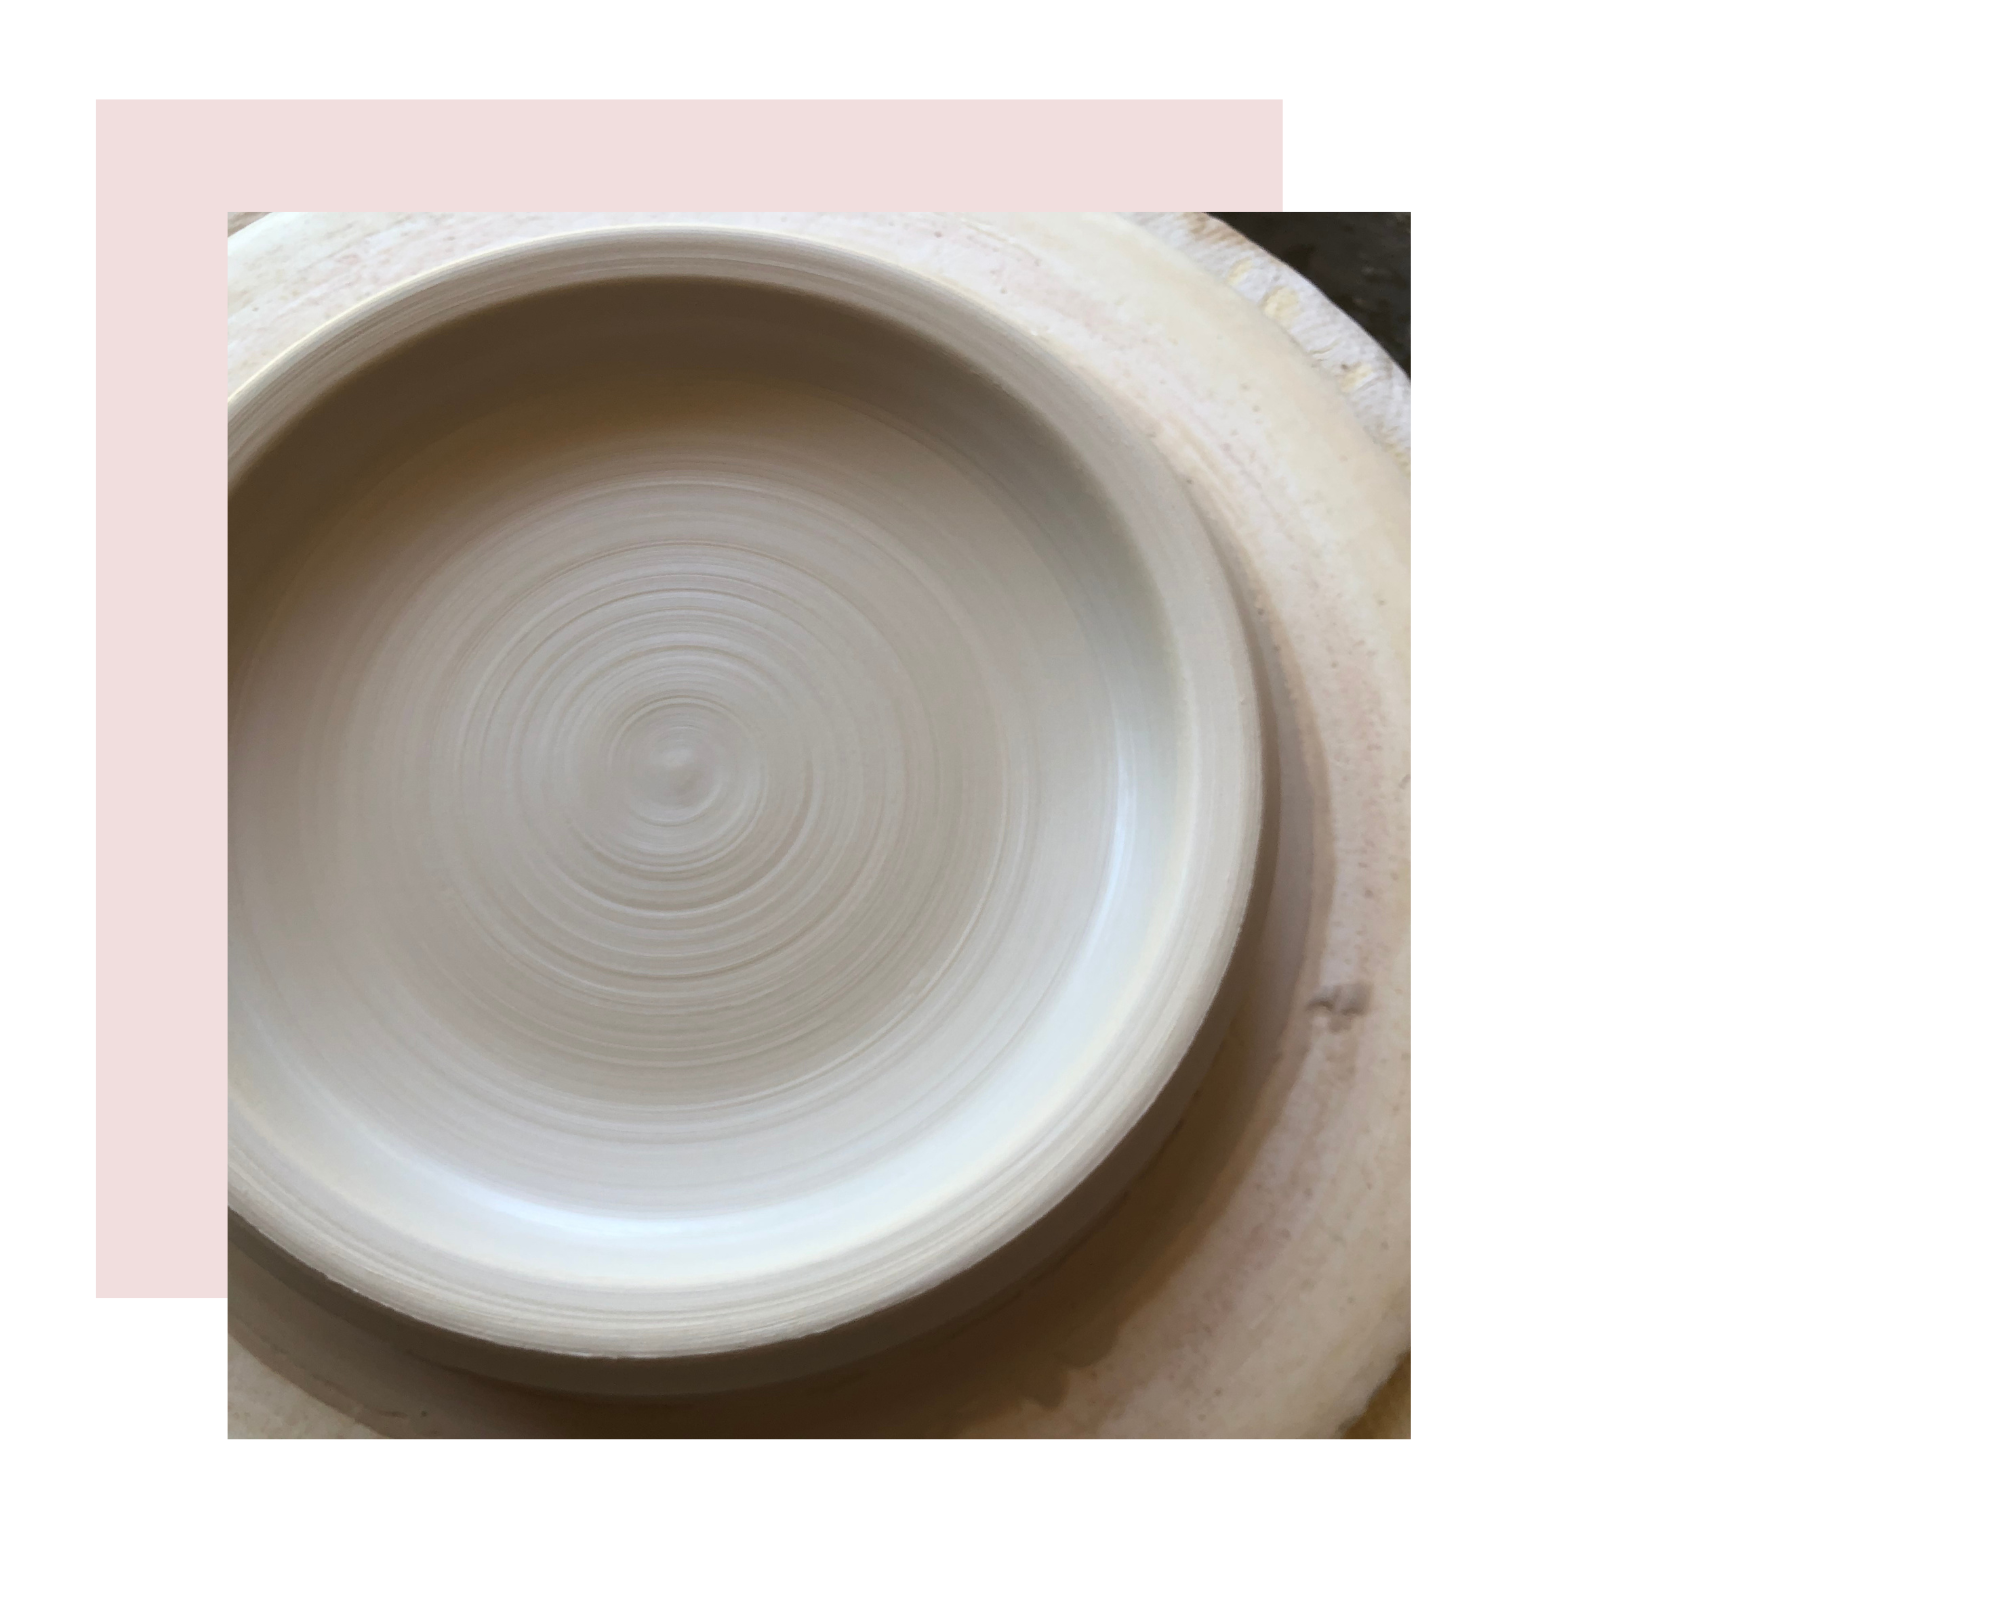
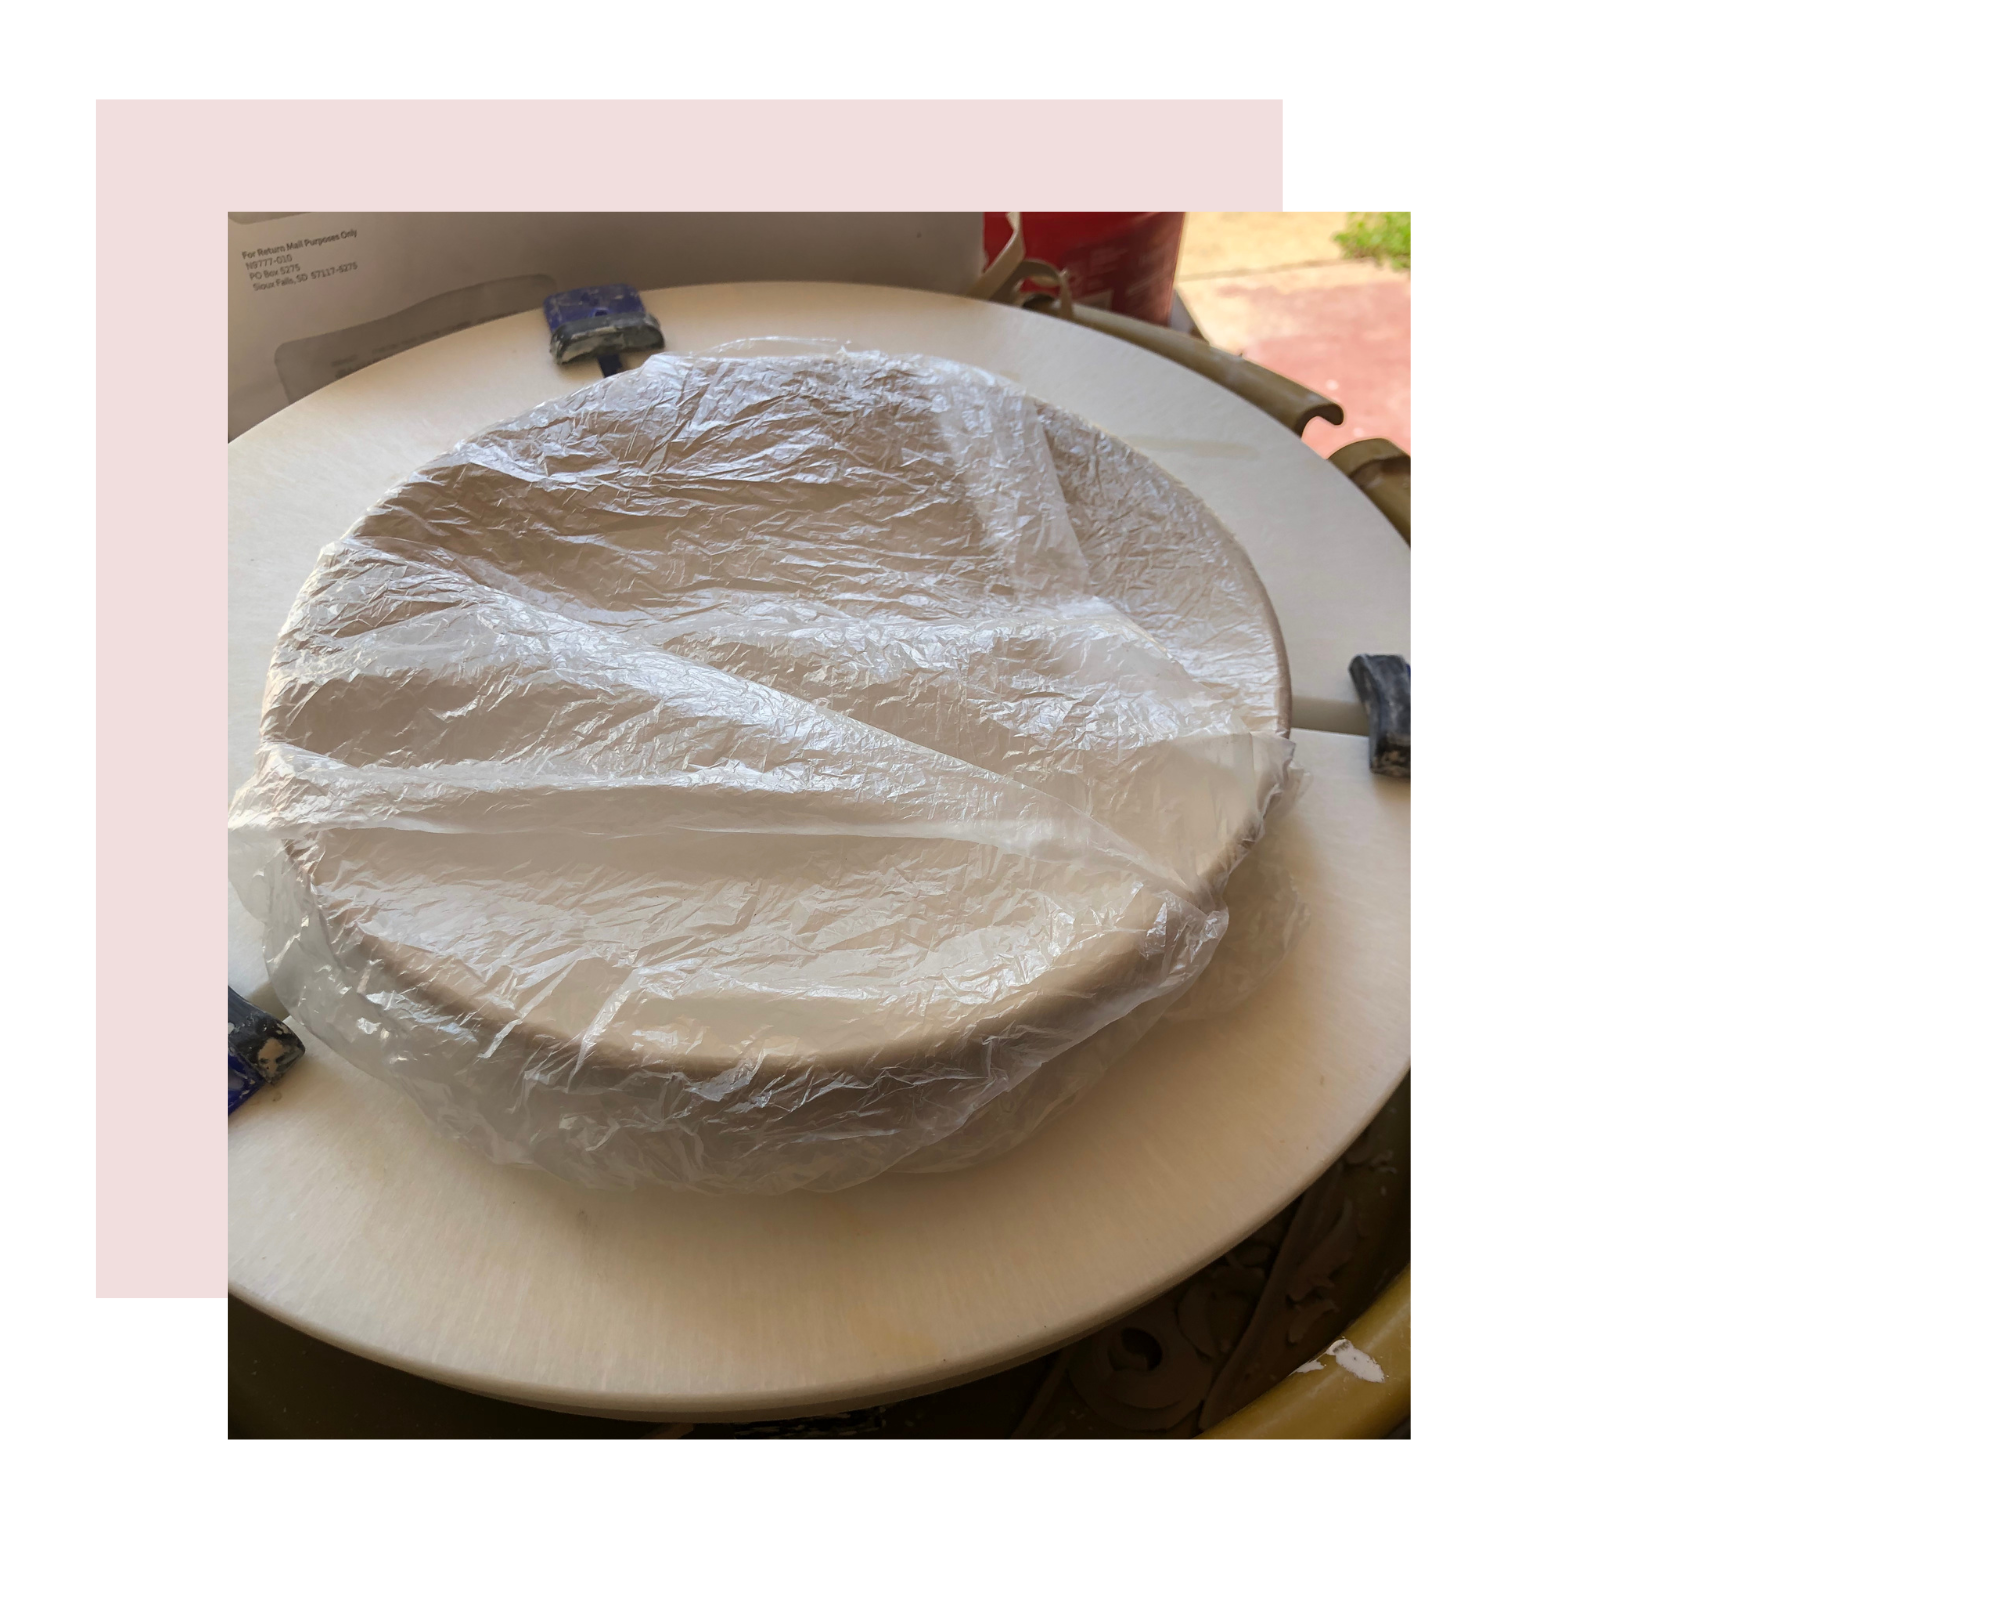
Pull the walls & curve out. When viewed from the side, it should have the profile of a skillet. If you are waiting for them to dry, but don’t want the rims to dry then use a shower cap, free at hotels.
Trim to 6.5 inches.
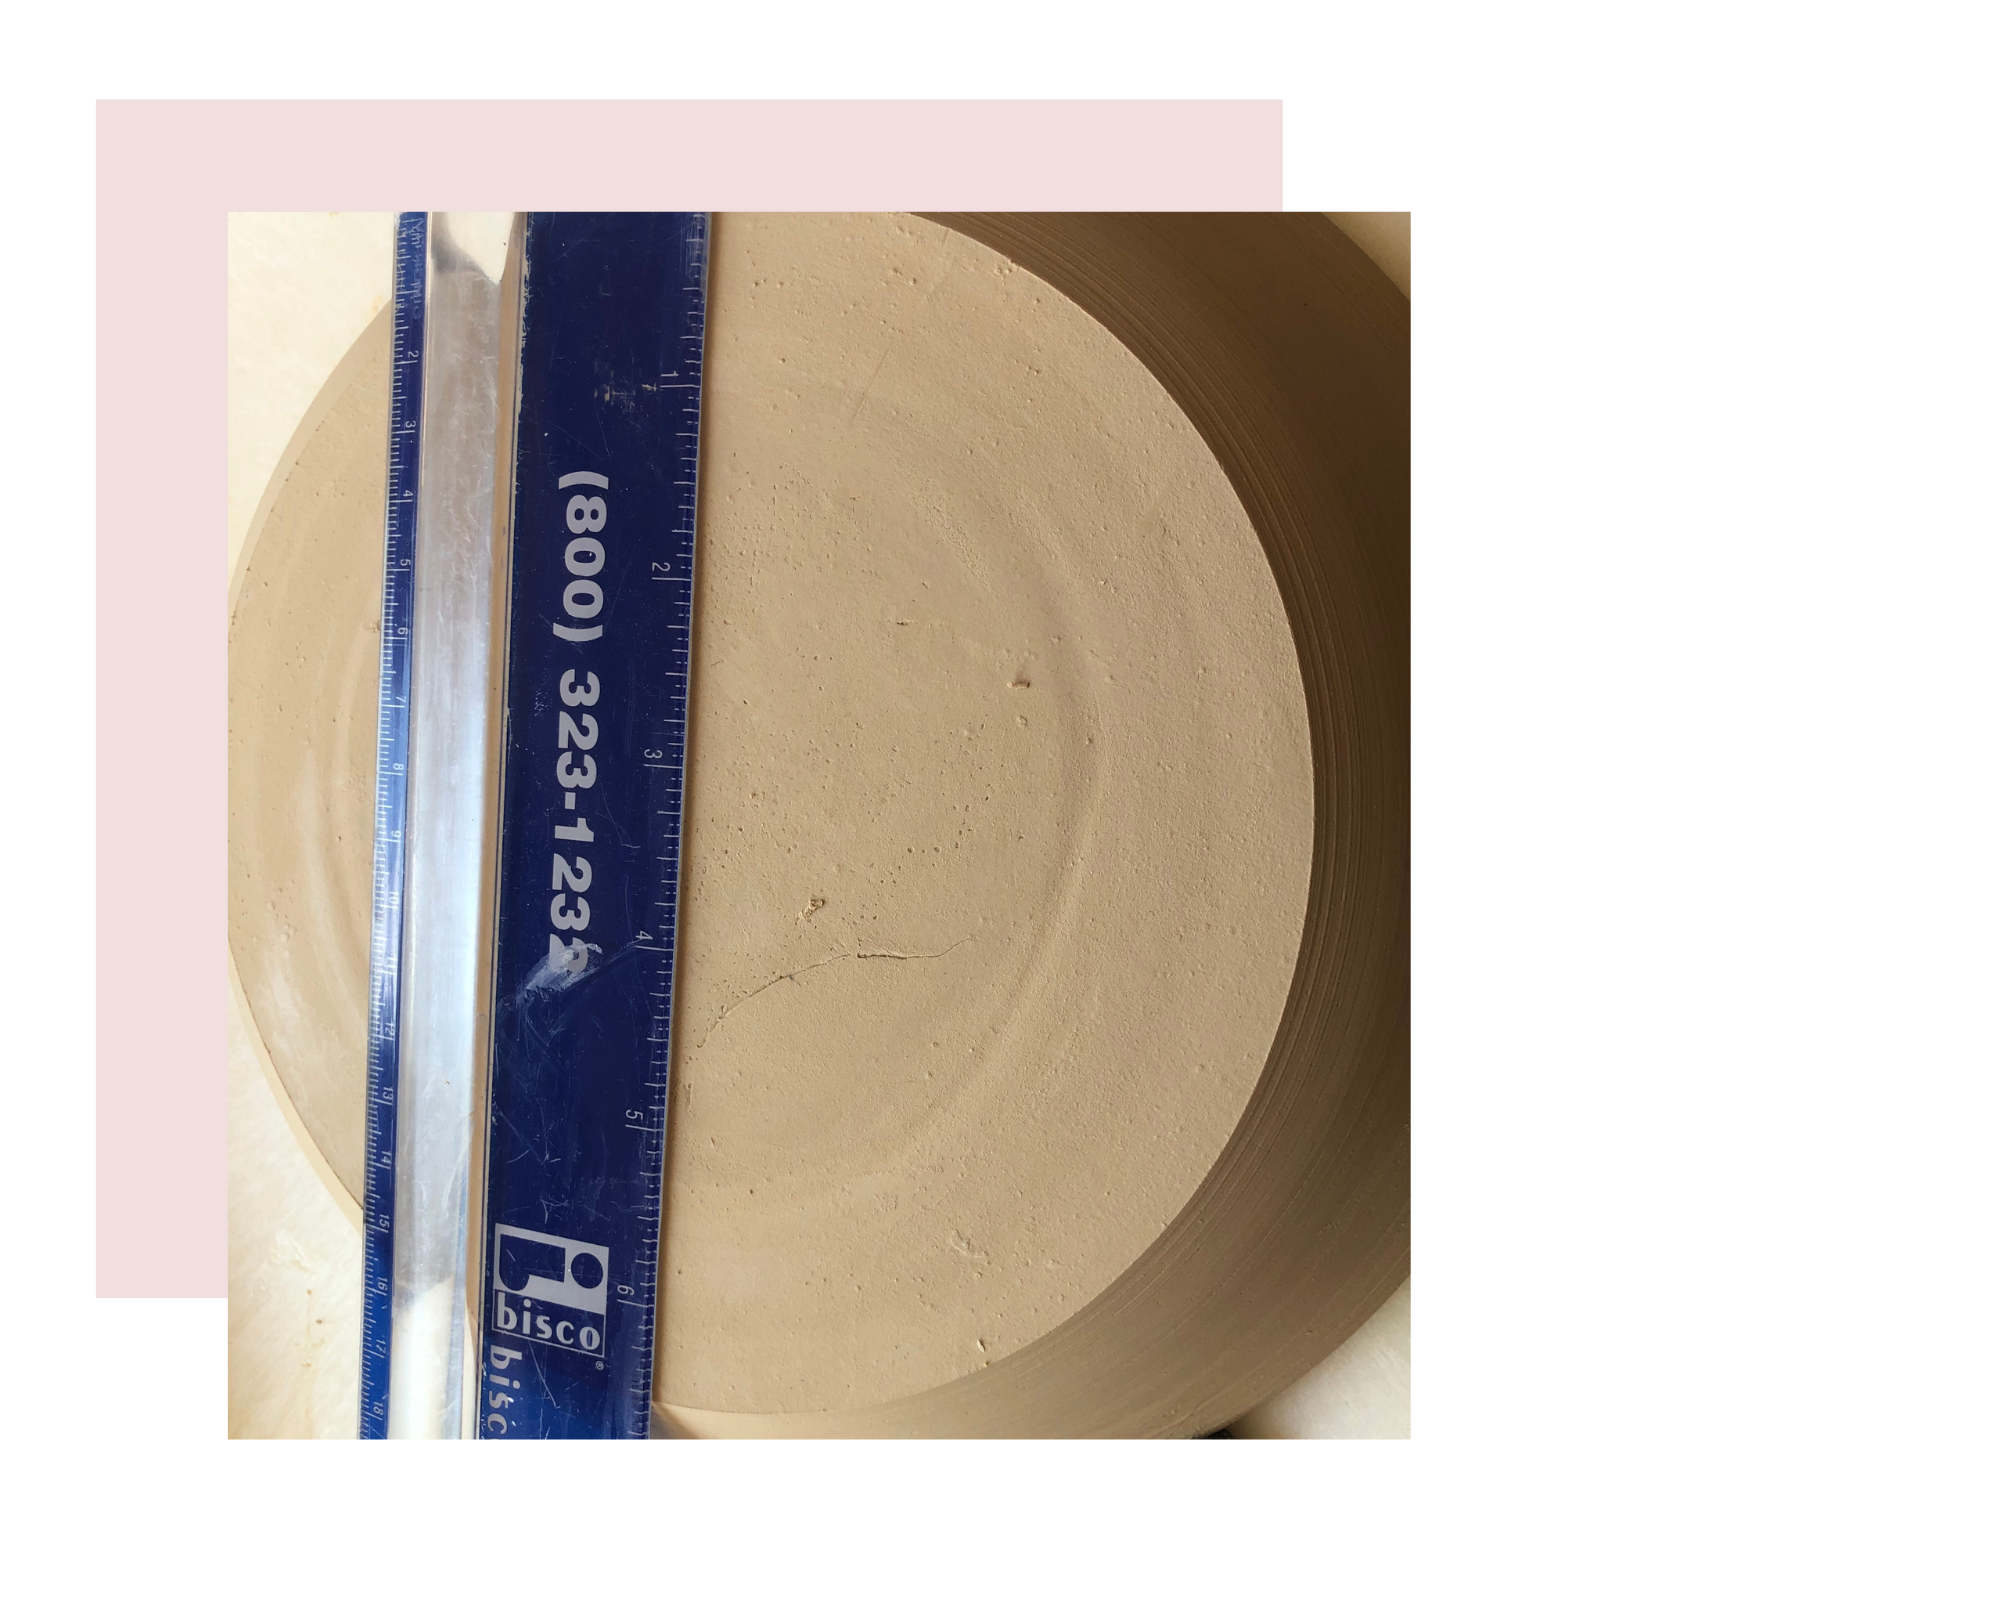
Trim a foot.

Trim an indention 3/4-1″ from the rim.
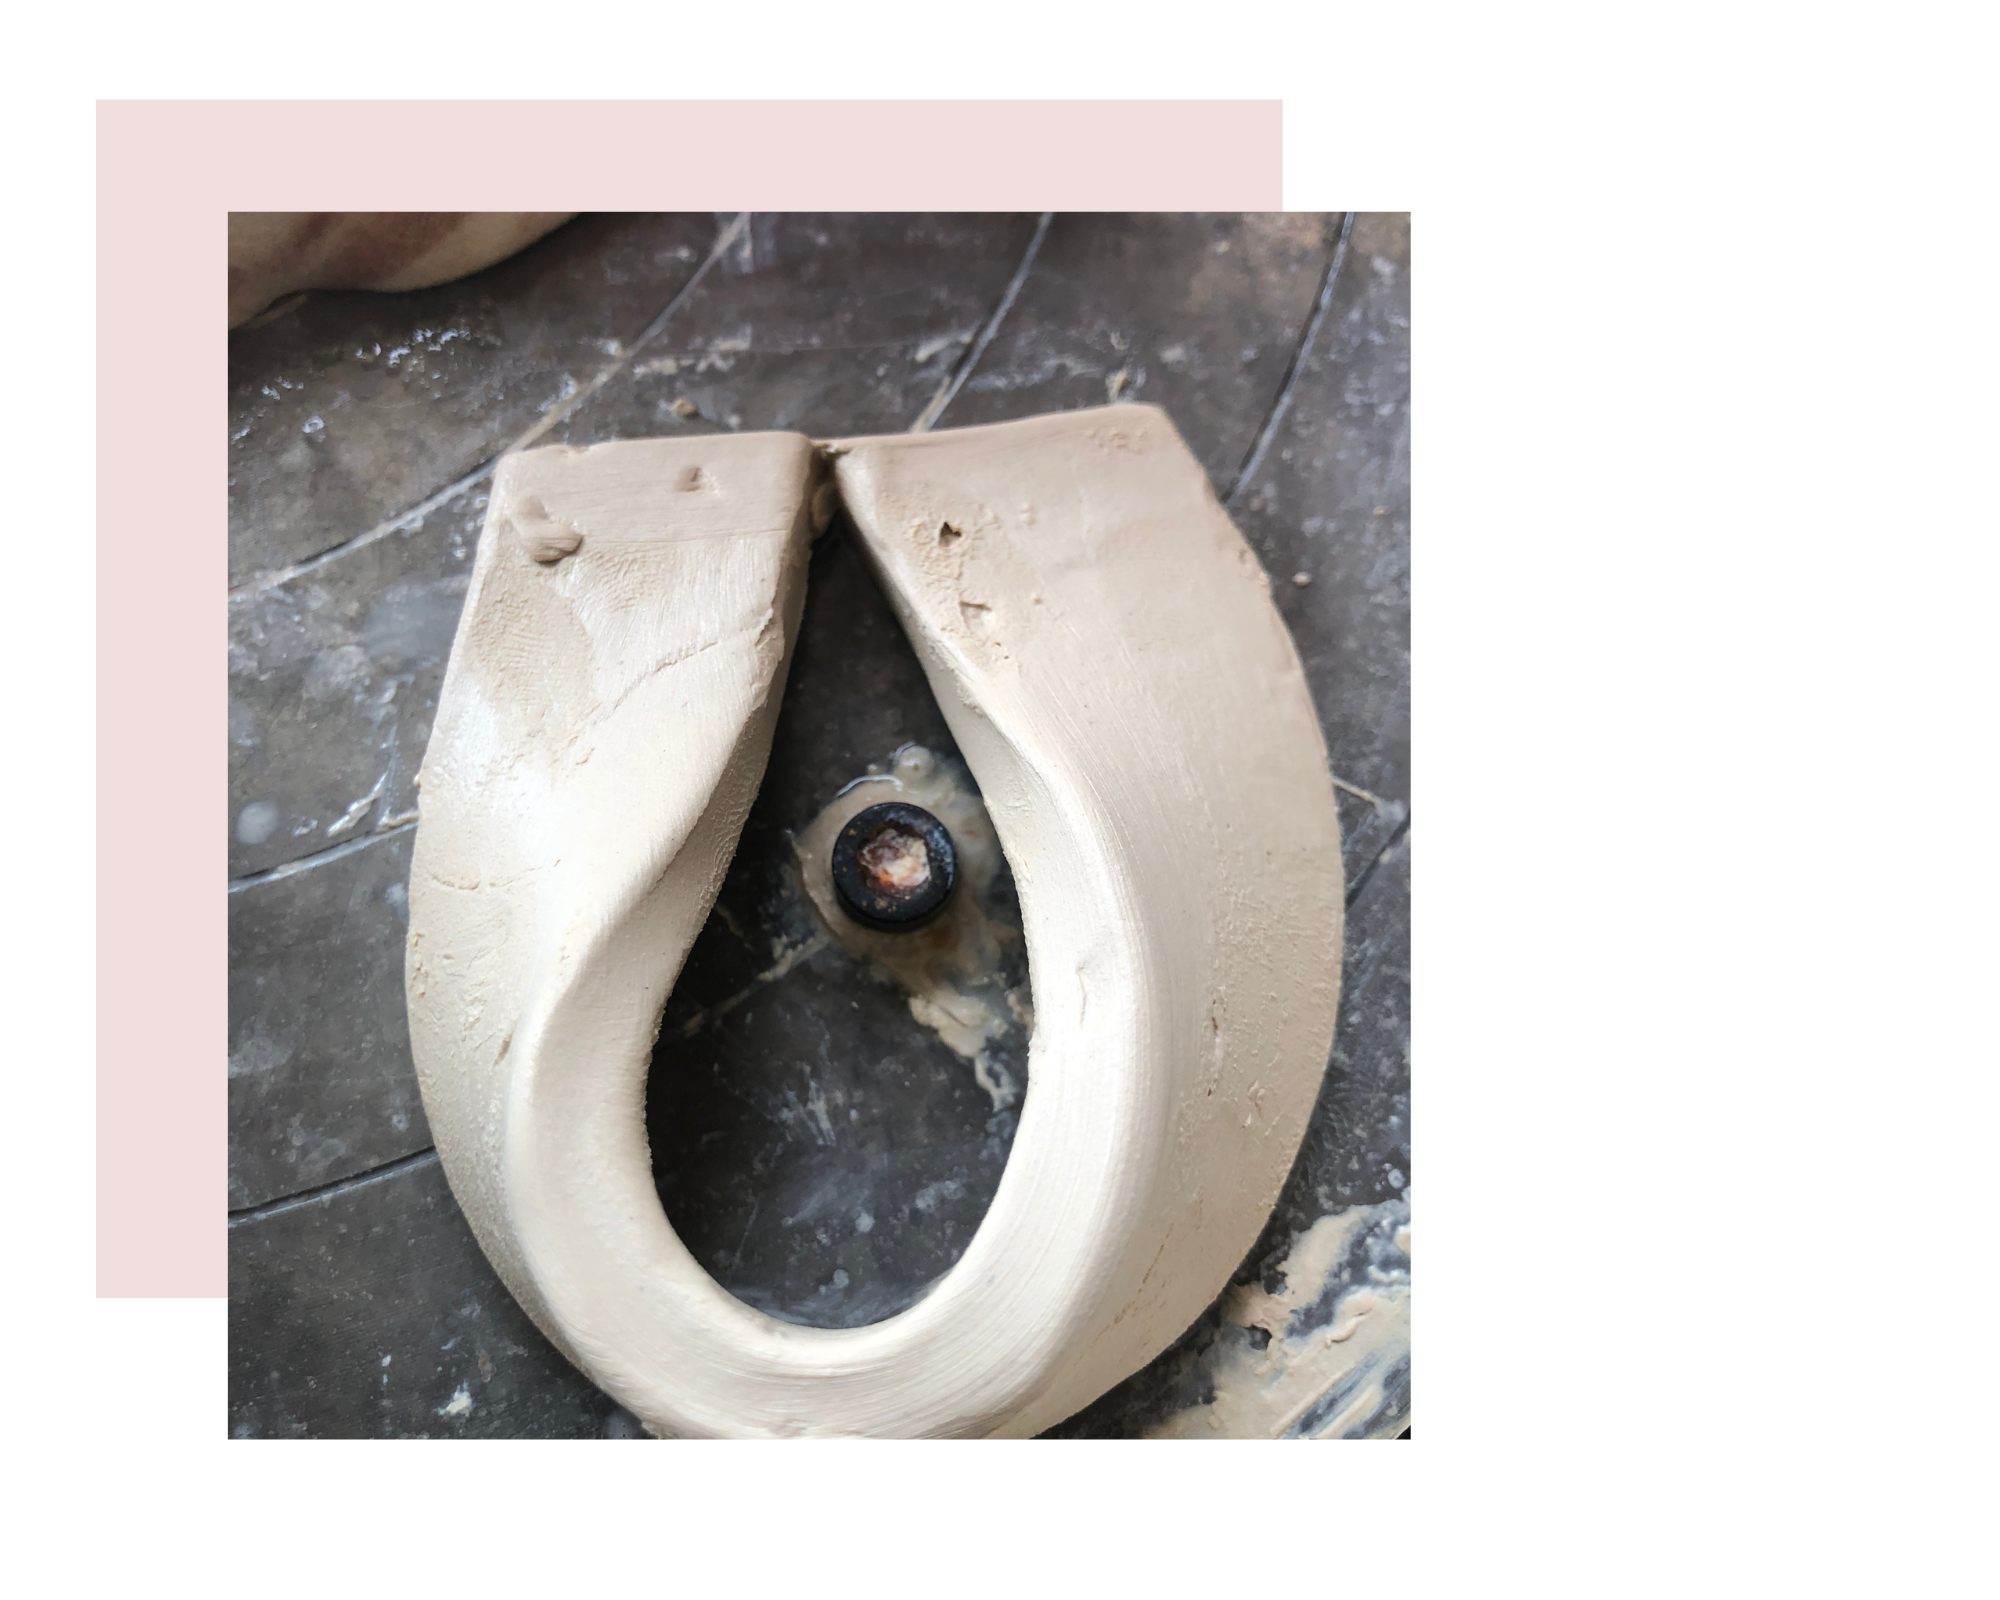
The handle should have a wide enough hole/space to put your thumb in.
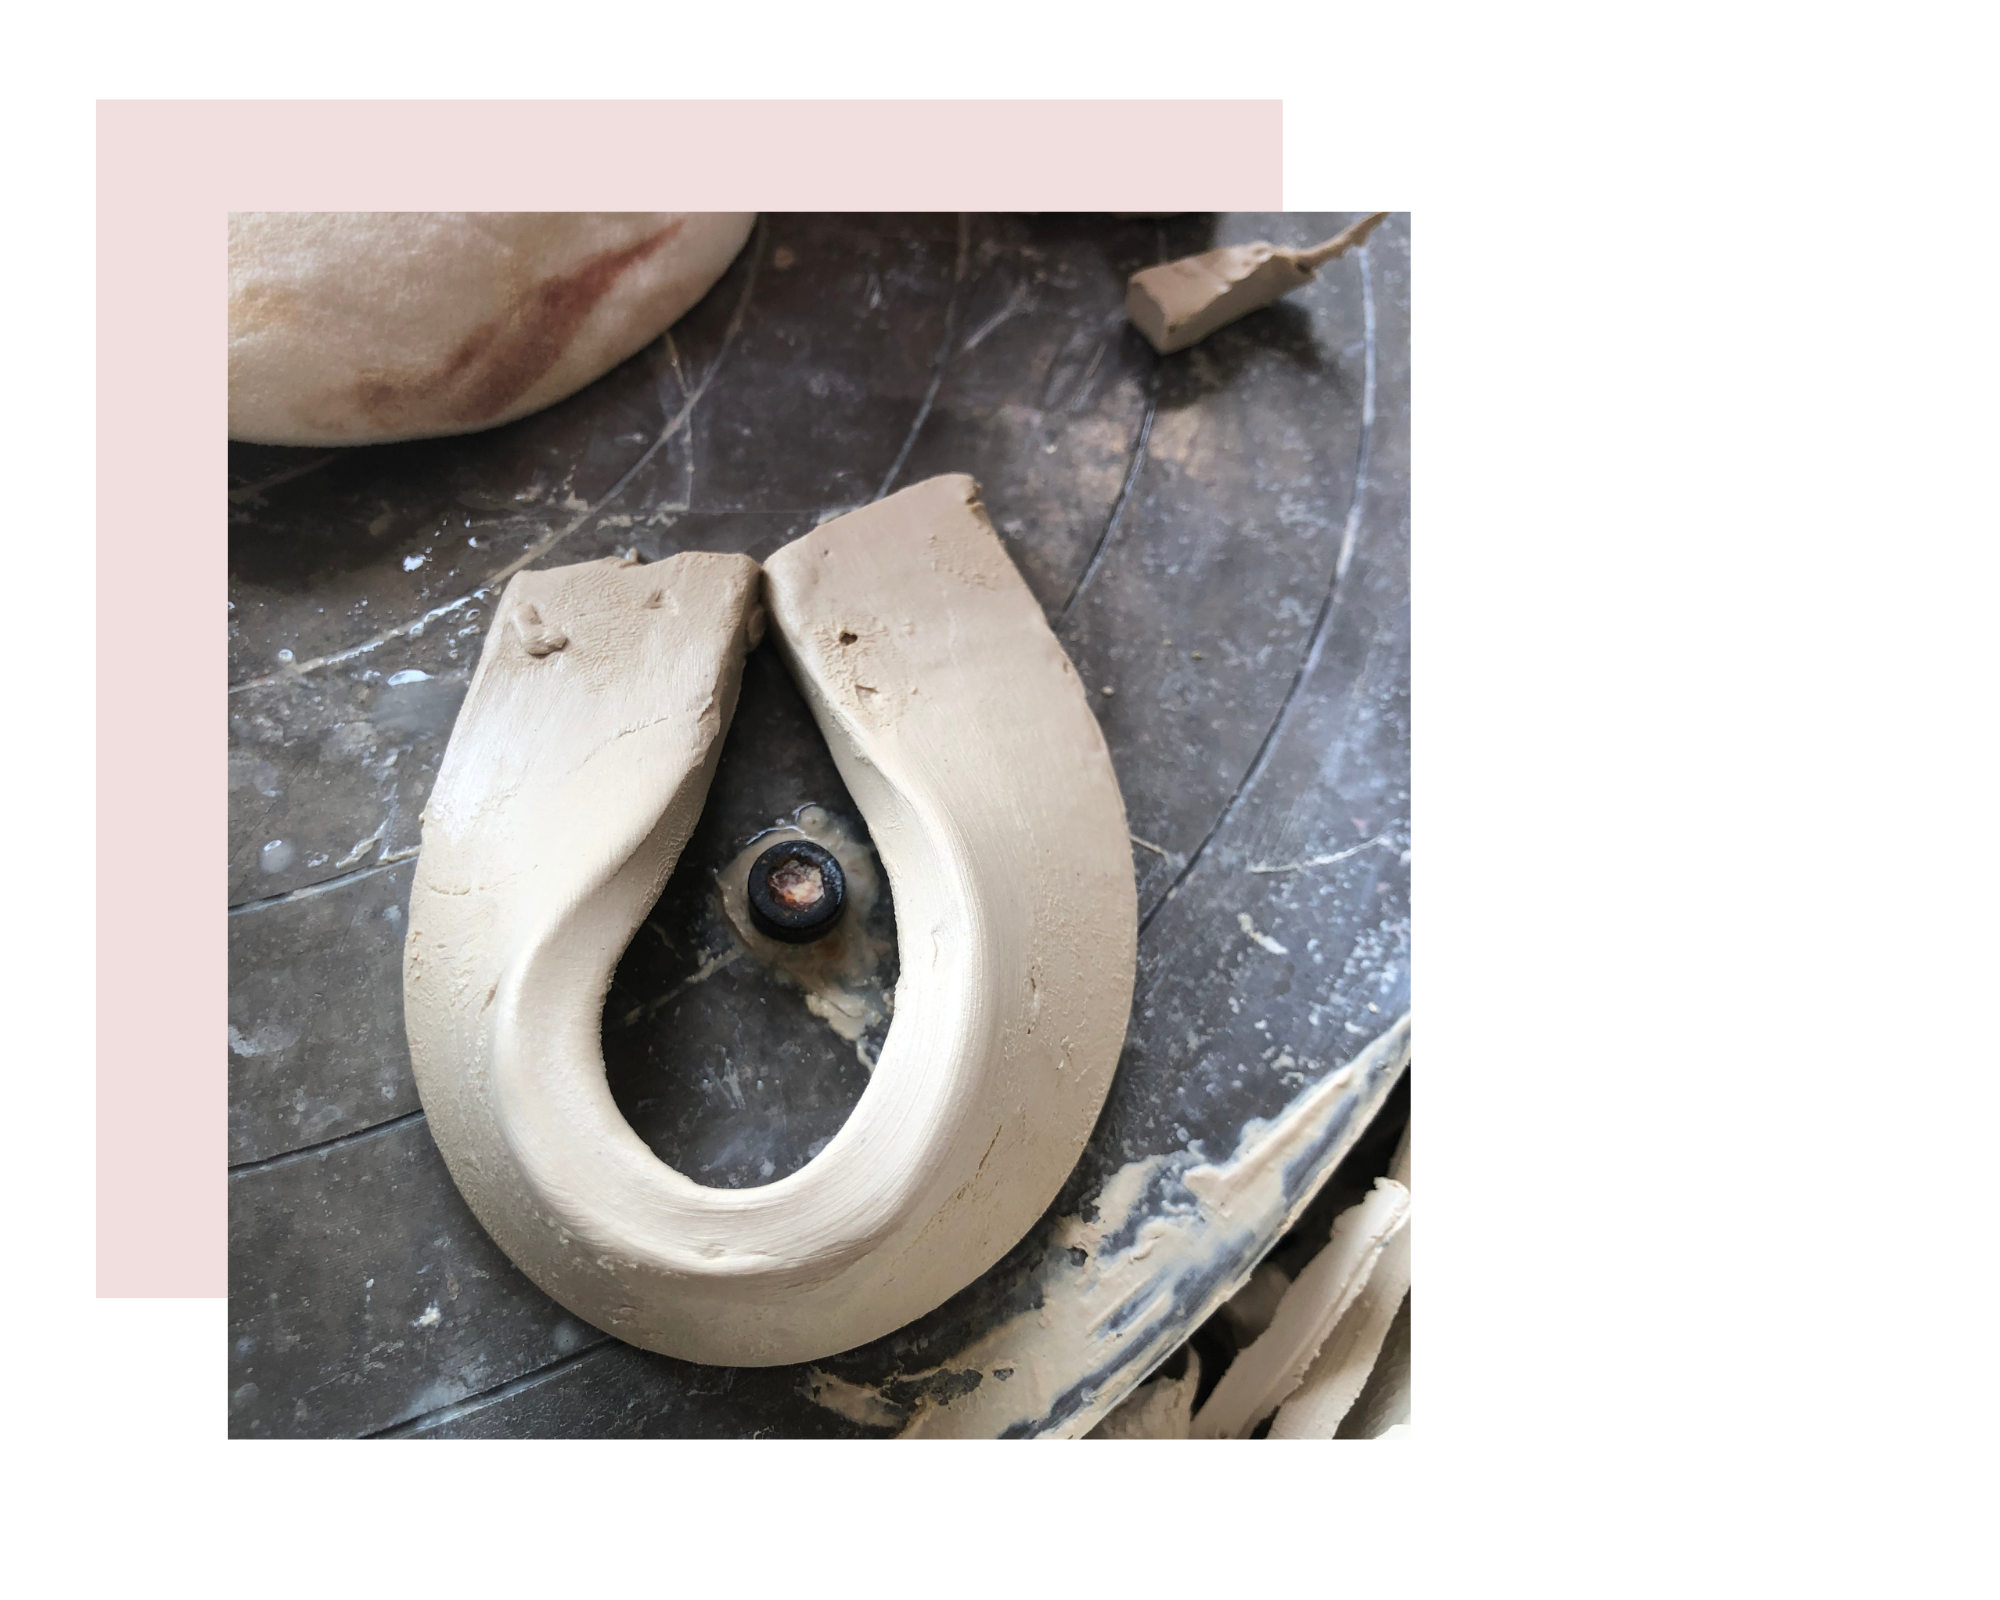
To create these upside down teardrop handles, use your wall extruder. Select the 1” flat die as shown. As it exits the extruder it will start to curve. Stop extruding and cut off the handle when the clay makes that teardrop shape. You can cut down the handle to shorten if needed.
Score the surfaces to attach.
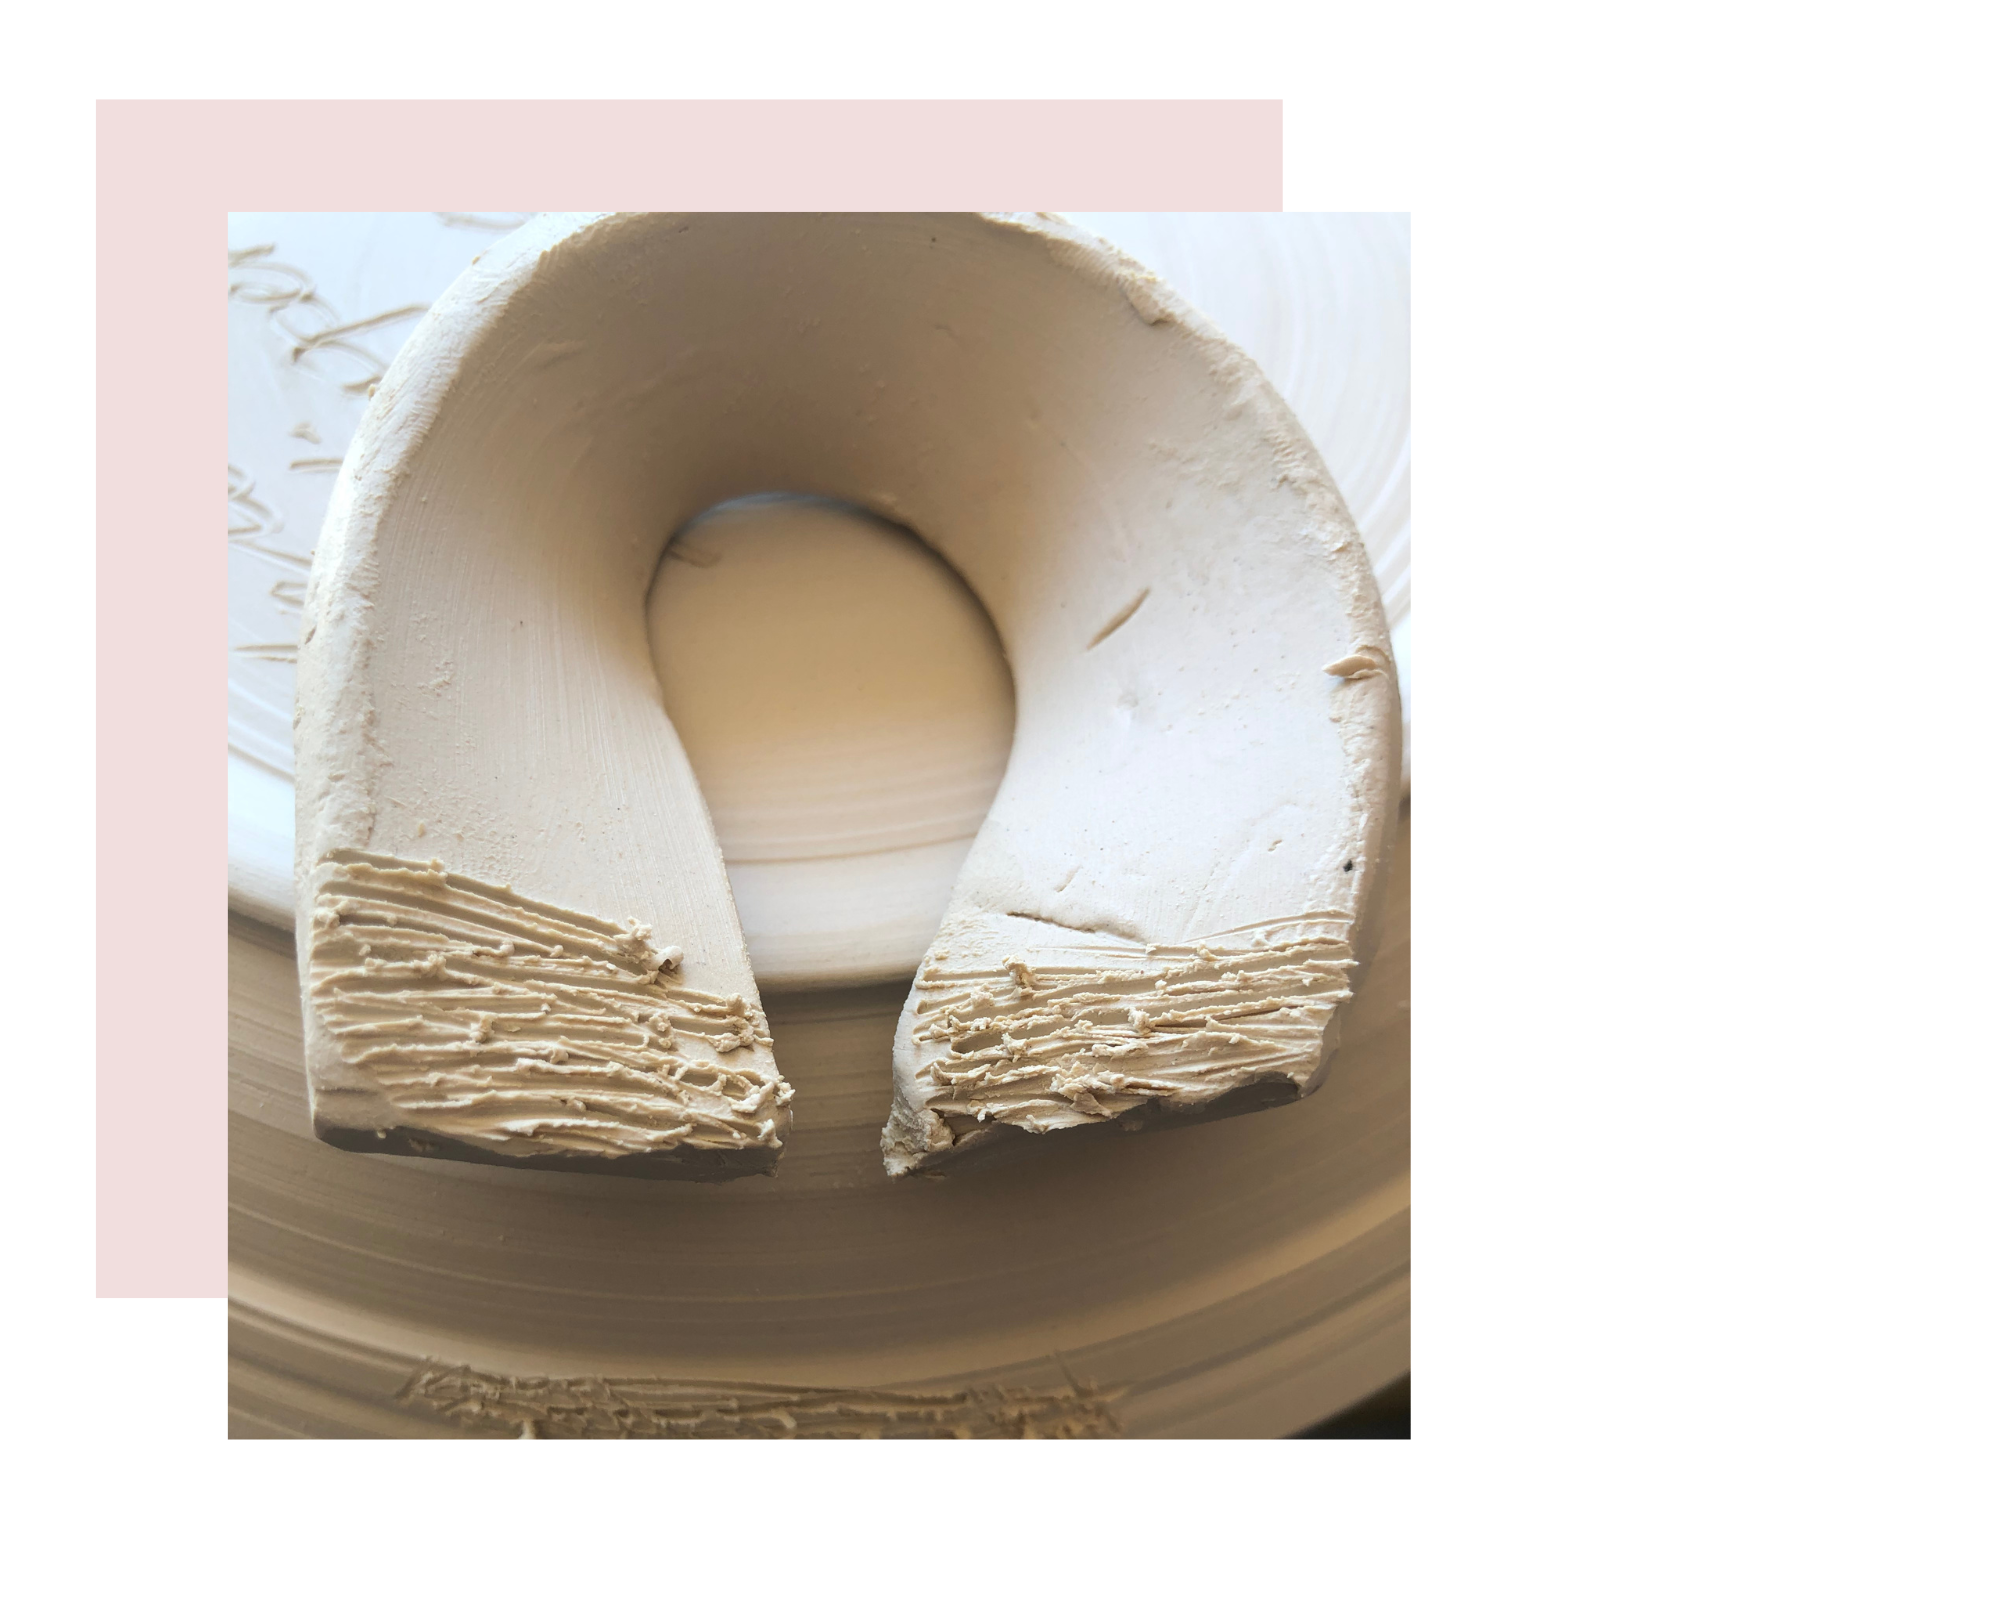
Attach handle. Add a little texture if desired.
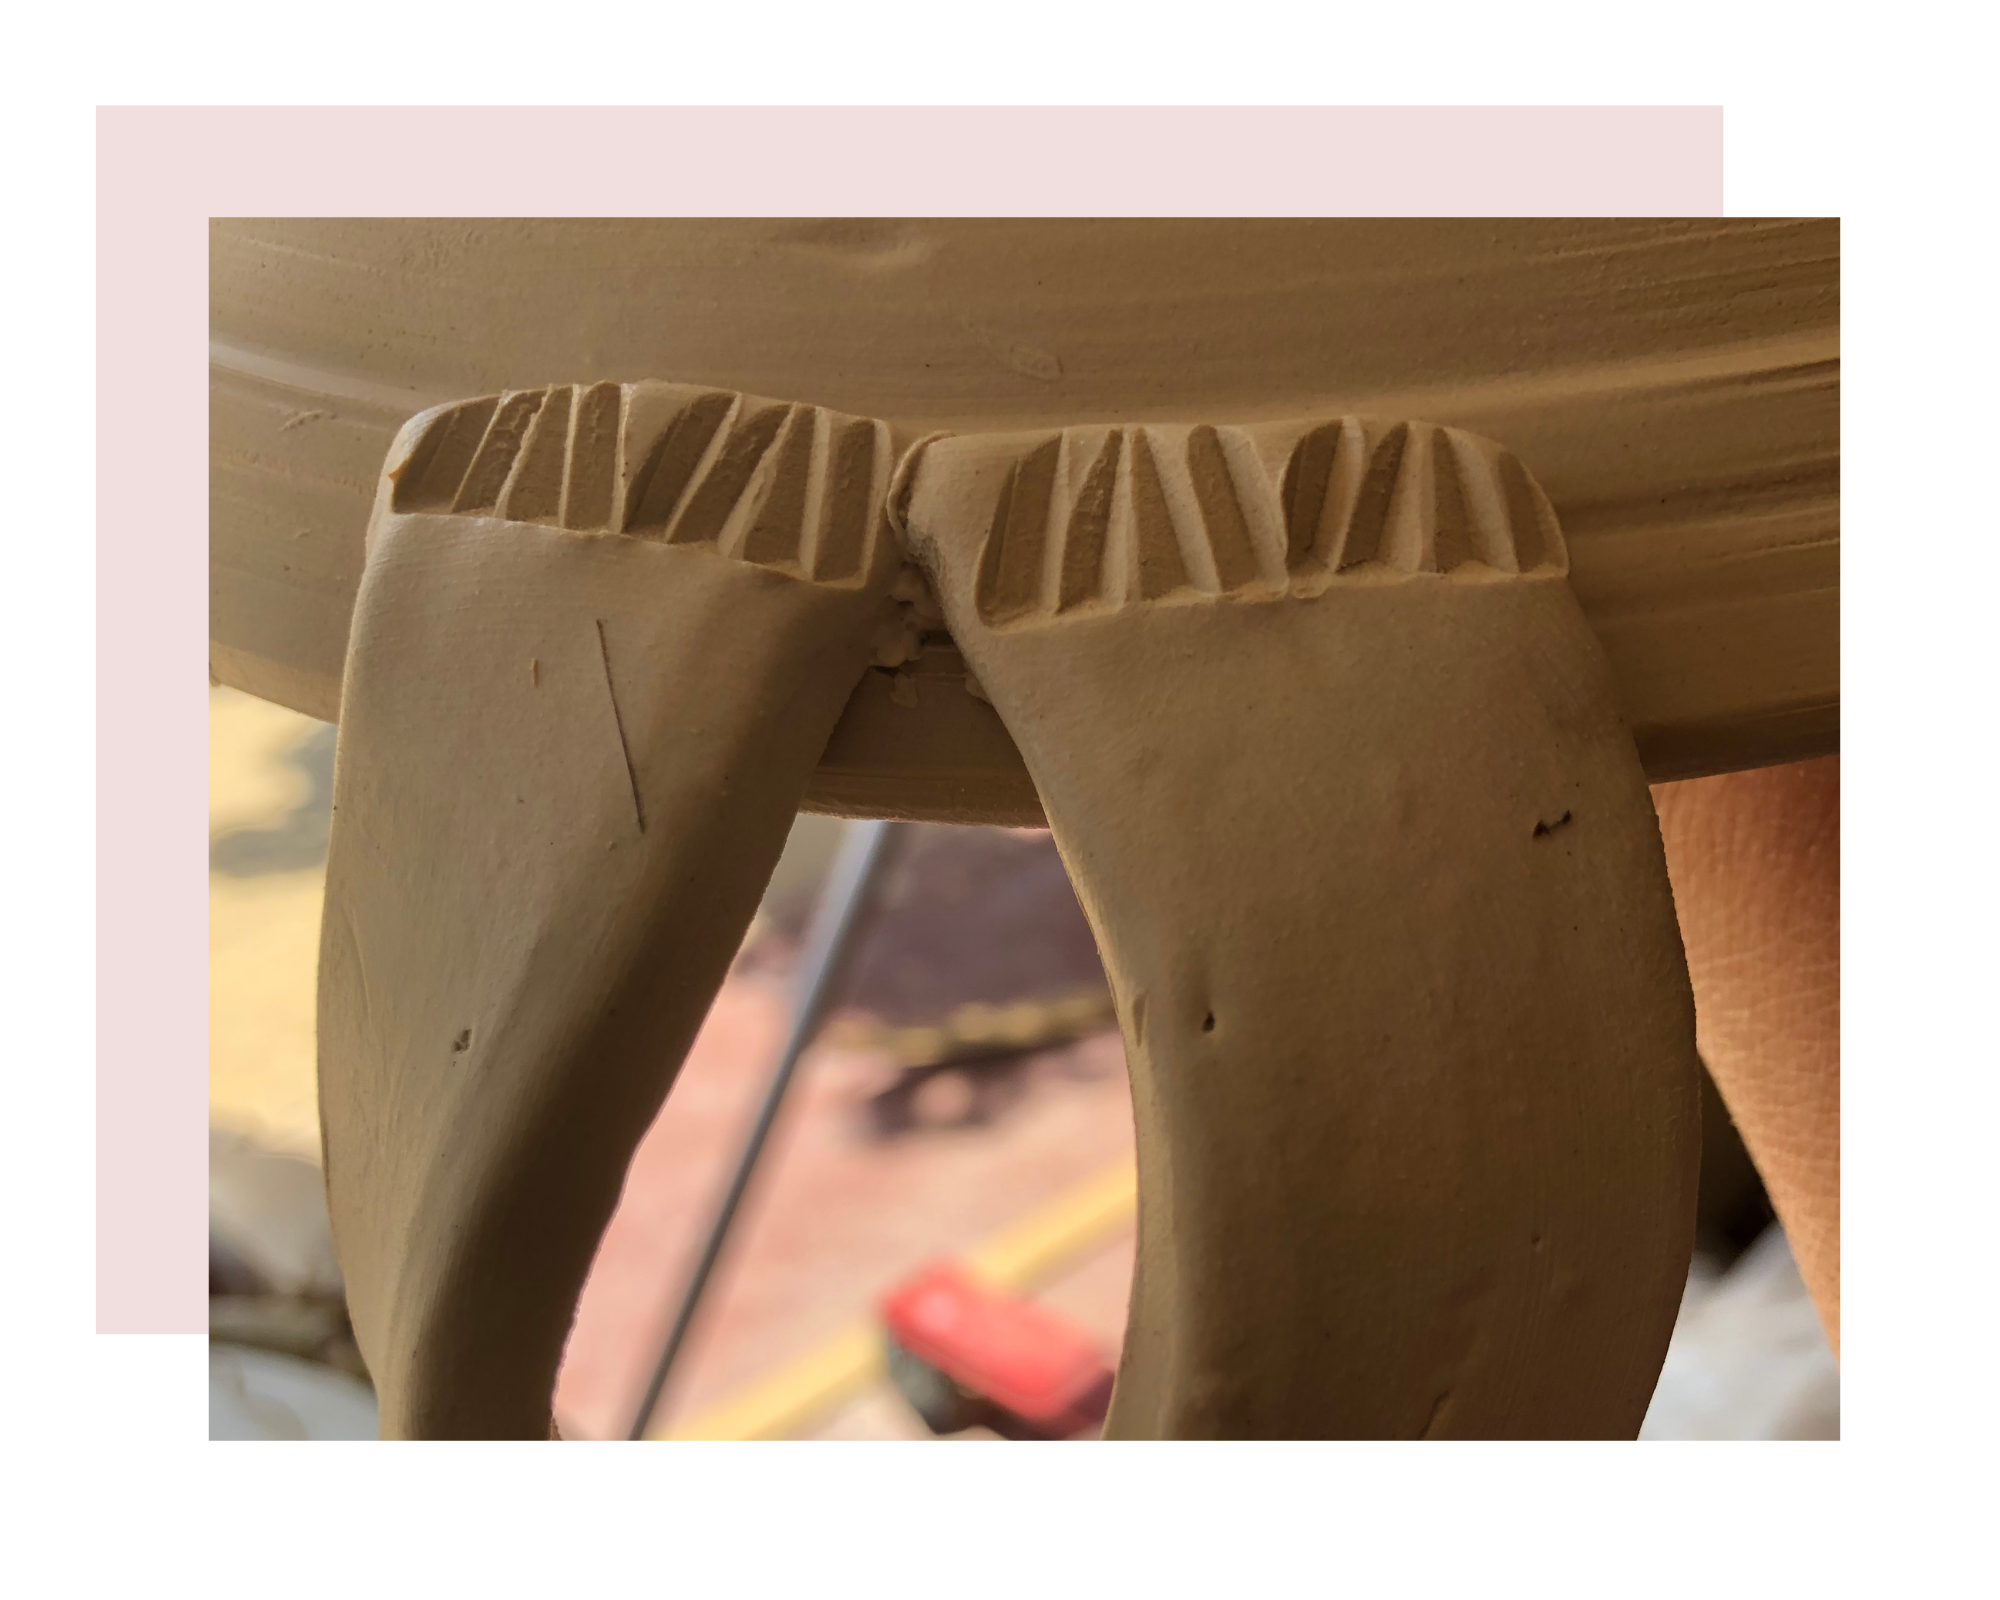
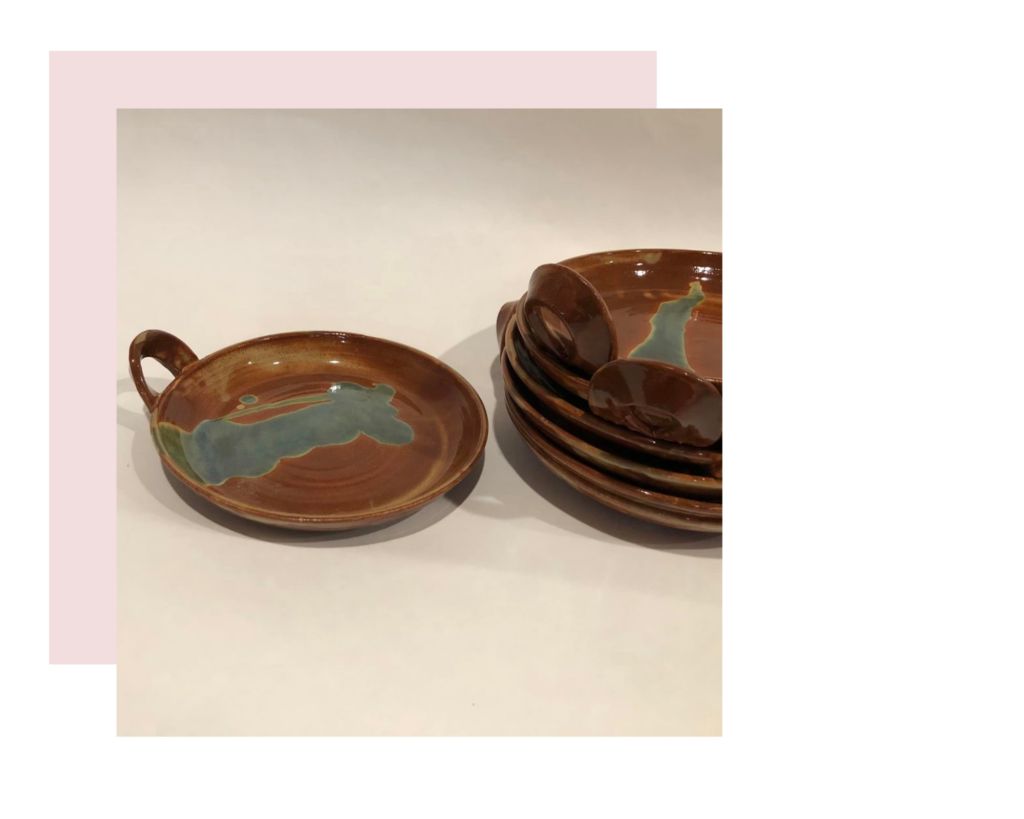
After you trim the bottom, attach the handle to the outside of the plate. Make sure it is at the correct angle to stack the plates (see picture below).
This is a great class project. Then when all glazed, the students brings snacks to class on their plates! Too Fun!